You’ve just finished unboxing your shiny new TV, just in time for all of the summer sporting events, but before you can start inviting your mates round for a Sunday match you need to figure out where it’s going to live.
If you are a fan of the minimalistic, decluttered look then a wall-mounted TV could be the right option for you. Mounting your TV will help you save floor space, especially helpful if you have a small home, and keep your kids and pets safe.
If you’d prefer to still be able to move your TV around to find the best viewing angle from wherever you are in the room, extending, tilting and swivelling wall mounts are the way to go.
Check your walls
Most modern houses are built from at least two different types of wall – brick and stud walls. Most walls can support a TV mount, but it is advisable to take particular care when it comes to stud walls.
Brick walls. It’s safe to say that these walls can support a TV of any size. Brick provides a secure fitting for the wall mount, but it’s advisable to use heavy-duty wall anchors designed for use in brick.
Top tip: Avoid putting the wall mounts into the mortar which will not support the weight of the TV as well as the brick.
Stud walls. How to mount a TV on a wall with studs? Well, most interior walls are made from wooden studs with plasterboards attached to them. The wood can support the weight of the TV, but the plasterboard itself might struggle. Using special plasterboard fixings will help to disperse the weight and ensure it doesn’t exceed the limit.
Top tip: Match the type of the plasterboard fixings to the weight of your TV before purchase to ensure that the stud wall will fully support the mount.
What you’ll need to wall mount your TV
Before you start mounting your TV, it’s good to prepare all of the equipment required, so that you don’t have to keep taking breaks during the installation to find what you need. Even though this is a fairly straightforward process, mounting a TV can make for heavy lifting, so we suggest that you ask someone else to help.
You’ll need the following equipment:
- Your chosen mounting bracket
- Tape measure
- Screwdriver (slotted and Phillips should do)
- Pencil
- Spirit Level
- Screw Plugs
- Drill
Finding the right mounting bracket
There are several mounting bracket options to use for your TV, so it’s important to choose the right one for the weight of your TV and the type of the wall you’re going to be mounting it to.
VESA standards brackets. Most TVs use the VESA (Video Electronics Standards Association) standards to design the patterns of holes on the back, which then match with all types of brackets.
To find out what the VESA dimensions of your TV are, grab a tape measure to work out the distance between both horizontal and vertical holes. The measurements, taken in millimetres (mm), are your VESA dimensions. If in doubt, check your manual or contact the TV manufacturer.
Non-VESA TV brackets. Not all TV manufacturers use VESA standards when designing their TVs, which could prove to be problematic. If you notice that your TV has a random pattern of holes on the back, rather than a measurable distance between the holes, you will need a universal mounting bracket. It can be adjusted to fit any TV, but it’s important to make sure it can support the necessary amount of weight.
5 simple steps to a perfectly mounted TV
You’ve got your TV, you’ve chosen your bracket and picked the perfect spot to mount it. What should you do next?
- Position your TV – before you start drilling holes and screwing in screws, you need to make sure your TV is positioned correctly. TVs can be heavy and trying to mark the right position with one hand and balancing a TV with the other can prove tricky, so either ask someone for help or cut out a paper template of your TV that you can stick to the wall to make sure you know exactly where to mount it.
- Mount the bracket – use a tape measure to figure out the distance between the bottom of the bracket and the TV you’re going to be mounting to it and use a pencil to mark where the bottom of the bracket sits. Take the first (wall) part of the bracket and line it up against the wall, using a spirit level make sure the bracket stays straight and again, mark where you’re going to be drilling with a pencil.
- Drill the holes – once you’re happy that all of the marks are in the right position and look levelled, drill the holes in the walls and use screw plugs to help secure the bracket screws. Position the bracket over the holes and fix it to the wall.
- Attach the bracket to the TV – hold your TV upright and screw on the second (TV) part of the bracket onto the back of your TV. This should be fairly easy, but if you feel like the screws aren’t lining up properly, ask for help. Misaligned screws can prevent the mount from moving (tiling/swivelling), so it’s crucial the bracket is fixed properly.
- Final touches – you will need to connect all of the cables such as the power cable to your TV before you mount it to the wall. This is how you mount a TV to the wall without the wires showing. This way you can wrap the cables around the back and hide them behind the TV. You also don’t want to mount your TV, only to realise the HDMI cable doesn’t reach the socket. Once connected, lift your TV and fit it into place. Secure the two separate parts of the bracket with a screwdriver.
Check-in with the experts
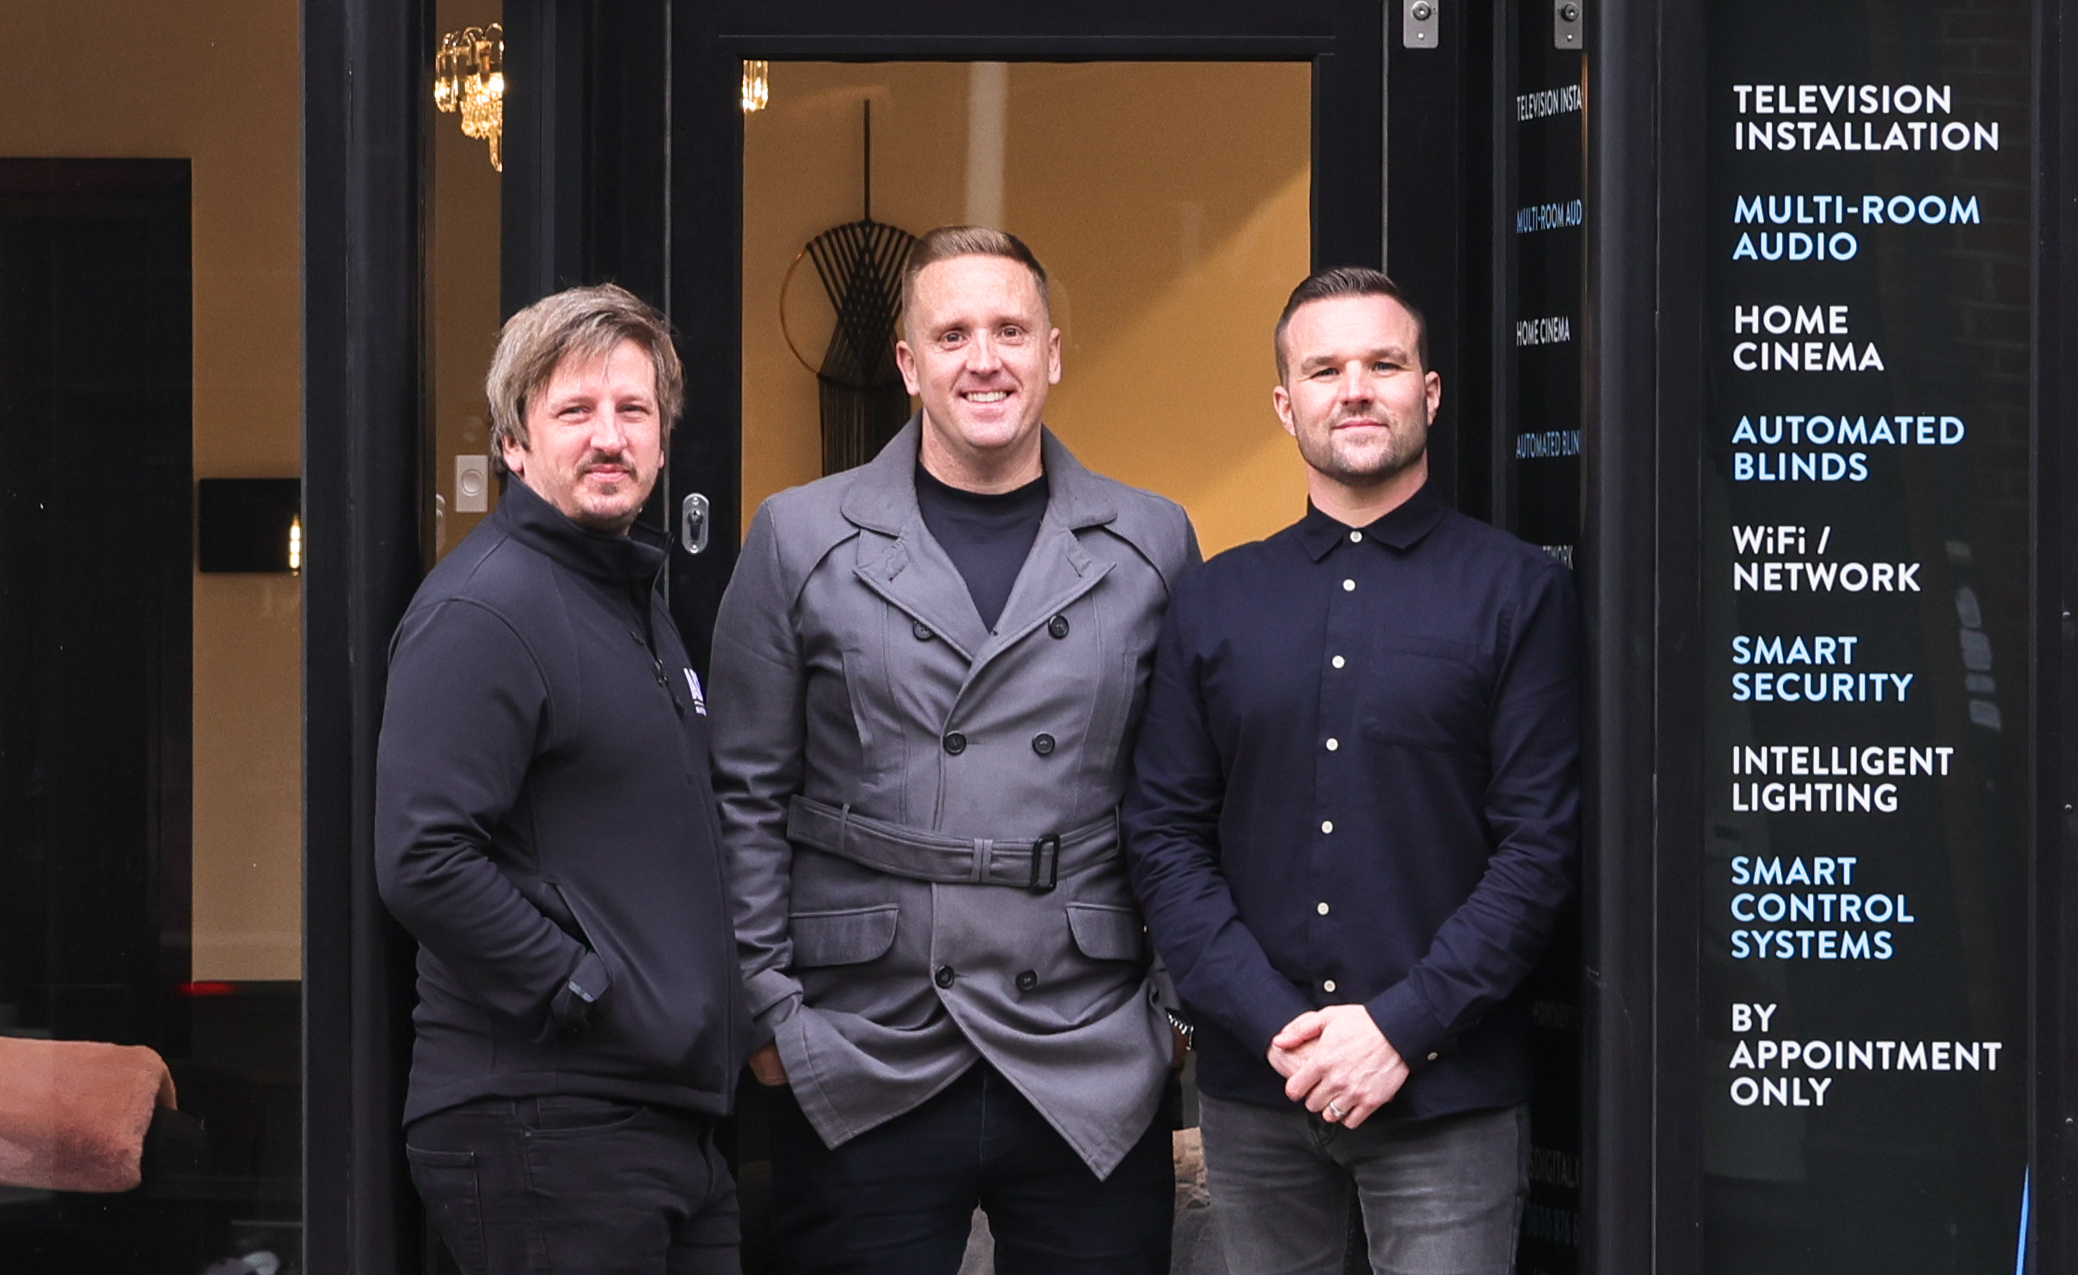
Another great way to mount a TV to the wall is by simply leaving it to TV installation experts. At ADS Smart Home, we want you to enjoy your new purchase without having to worry about getting it onto your wall right. We’ll do it all for you!
We have decades of experience between us and will take care of the fitting, from unboxing right until the last screw.
To find out more about TV mount installation, give us a call on 0800 876 62525 or contact us online.